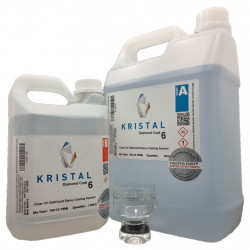
Countertop & Art Coating Epoxy Resin
From
R 484.00
Availability:
- Manufacturer's Brand Name: Surfacecast Epoxy
- Clear, UV Stabilised.
- The cured resin is glossy, fairly hard and suitable for temperatures up to 75degC.
- Typical Applications: Bar tops and tabletops, resin art on flat surfaces and creating a glossy clear coat over art.
Downloads:
Countertop & Art Coating Epoxy Resin
Manufacturer's Brand Name: Surfacecast Epoxy
Overview
- Manufacturer’s Brand Name: Surfacecast Epoxy.
- Clear, UV Stabilised (slow to yellow compared to non-stabilised resins).
- Primarily used for countertops and art applications.
- A little thicker (lower flow) than most casting resins but thinner (higher flow) than our General Art Resin.
- Cured castings are glossy, hard and strong.
- Not approved for food contact.
- Temperature resistance is usually 70-80oC (this depends on curing temperature and can be increased later by controlled heating).
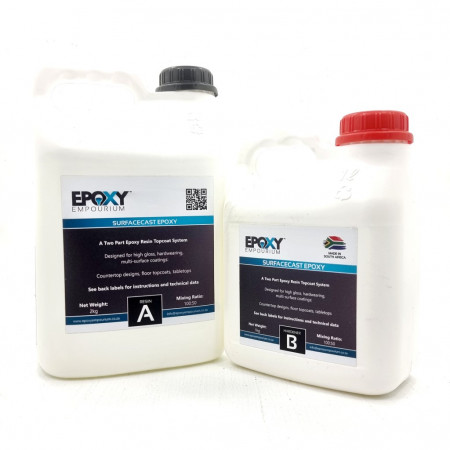
- Mixing ratio is 100 Resin : 50 Hardener by weight (2:1 ratio).
Typical applications of this epoxy resin
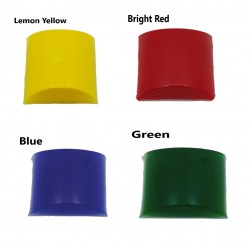
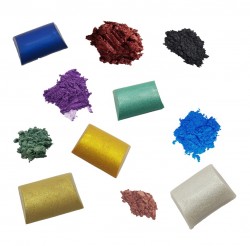
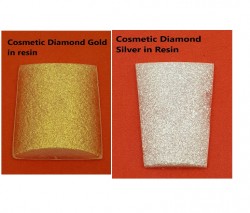
- Used to give a durable glossy finish to bar counters, tables and similar tops. It can be used clear or with pigments added to create metallic appearance or other effects.
- Thin layer resin art on tiles, glass, wood etc.
- Poured over acrylic art to create a glossy finish. Do not use over oil-based paints or varnishes.
- Poured over photos, paper and fabric as in decoupage art.
- This resin can be poured into moulds up to 10mm deep making it very versatile. It is, however, a little thicker than casting resins which may result in air bubbles being retained and visible in clear castings.
- We do not recommend this resin for flooring (as the flow is a bit low) or for kitchen counter tops.
You can download a PDF document with detailed specifications and instructions from this website and if you purchase we will send a hard copy with your order.
Coating art with Countertop and Art Coating Epoxy Resin
Acrylic Pouring Art needs to dry for at least 2 months before coating with resin. If an oily cell forming chemical has been used, we usually don’t recommend coating with resin. If you do want to coat artwork with an oily cell former, then the oil must first be properly cleaned off (mop up with a porous powder like starch, wipe with rubbing alcohol then wash with soap and water).
You will need to make a small lip around the artwork by sticking tape to the side. This must retain a depth of at least 1mm. If you pour resin thinner than 1mm, it will tend to leave holes. Make sure the artwork is perfectly level. Mix the resin as per instructions and pour it over the painting. Once it has started to thicken, you can remove the side tape so that the resin slowly flows over the edge. Getting this exact point may take some experience and you do not want a lot of resin to flow off. If you don’t pull the tape off, it may be very hard to remove later, and the sides will tend to have a matt finish.
General points for all resin work
Resins are not simple to work with and you should not attempt resin art if you are not prepared to experience a learning curve. Start small and get to know your products and the correct methods.
Preparation and mixing are crucial for any resin project to be successful. Read and follow all instructions carefully. Only mix the quantity that you will use immediately as resins cannot be stored after mixing. The heat generated in a container of un-poured resin or in resin that is applied too thick can reach dangerously high levels.
You need to take health precautions when working with resins so read safety and health instructions carefully. The hardener of epoxy resins is an irritant to the eyes, skin and mucous membranes. Avoid direct skin contact an never get it in your eyes. Wear safety glasses, long sleeves and rubber gloves to minimise skin contact. While good quality epoxy resins are VOC free and don't give off significant fumes at ambient temperature, they can give off off fumes if they get hot during curing and many additives such as colourants do give off fumes. As a minimum always use resins in a well ventilated area and don't let them cure in your bedroom for example. If you work with them regularly or on large projects then wear a suitable respirator.
Keep out of reach of children.
Finish |
|
| Appearance | |
General |
|
| Unit Size | |
Colour |
|
| Colour | |
Pack Size |
|
| Unit Size |
1.5kg (1.36 Litres)
3.00kg (2.73 Litres)
6.00kg (5.45 Litres)
|
Size |
|
| Size | |
Starter Pack |
|
| Starter Pack | |


 Countertop & Art Coating Epoxy Resin


